If you are a demanding music lover, you will surely want to upgrade your turntable by changing its cartridge for example. To do this, you must set up the your turntable's tonearm. All the explanations you need to adjust your turntable yourself as accurately as possible are laid out below.
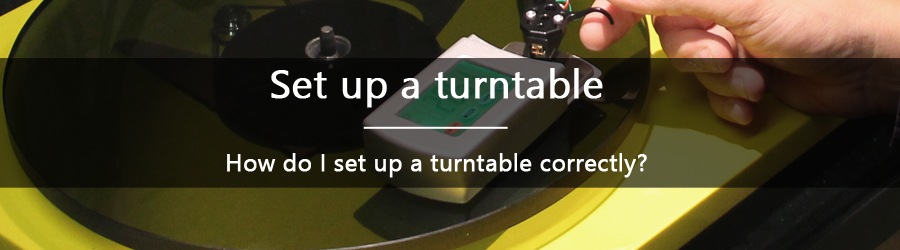
1. The importance of the correct set up for your turntable
2. The various set ups to be performed on a turntable
A. How do you fit and set up the cartridge of a turntable?
B. How do you set up the tracking force of the turntable tonearm?
3. The set up of your phono preamp according to your cartridge
1. The importance of the correct set up for your turntable
First of all, you must know that a correct set up is essential for a turntable. Indeed, if this step is neglected, it can have adverse consequences on your High-Fidelity equipment (stylus and turntable) and on your sound quality.
If your turntable is not set up correctly, you will have the unpleasant surprise of your equipment breaking down more rapidly. Indeed, an incorrect set up can cause faster wear on the phono cartridge, and particularly the stylus. Beside the damage caused to your equipment, an incorrect set up of your turntable will also damage the groove of your vinyl records. If one of the set ups is not performed correctly, the recorded information will be permanently damaged.
All these reasons mean that it is very important to set up your turntable correctly. So that you can keep your equipment in good condition and obtain the best possible playing quality, we are now going to explain to you what set ups you need to perform on your record player.
2. The various set ups to be performed on a turntable
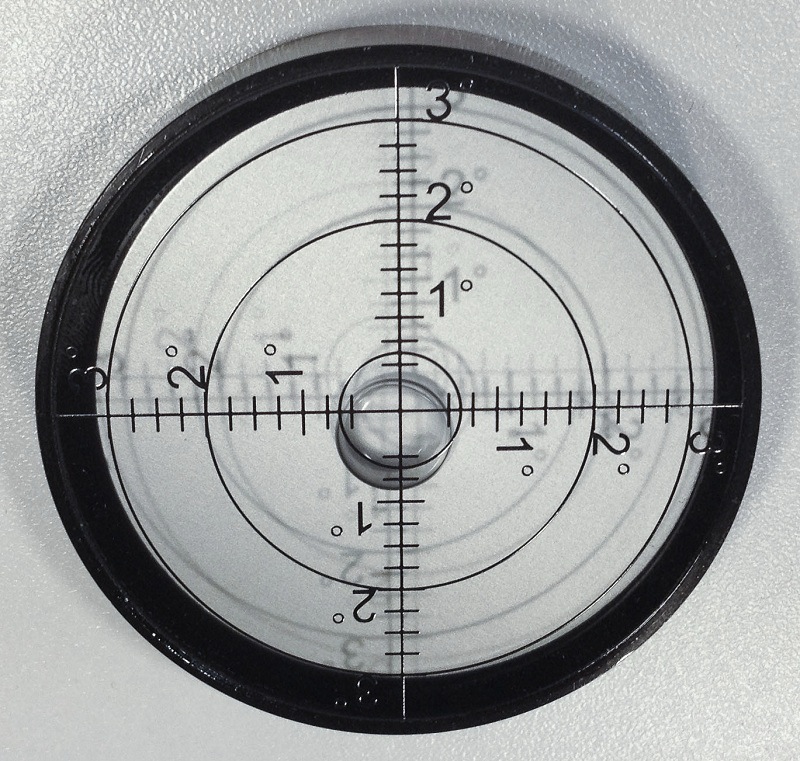
Before starting any set up, you must always ensure that your turntable is horizontal. To achieve this, there are spirit levels that enable you to position your turntable correctly (e.g. min. 1 Ortofon spirit level, pro 2 Ortofon spirit level, Level Gauge Basic Clearaudio spirit level).
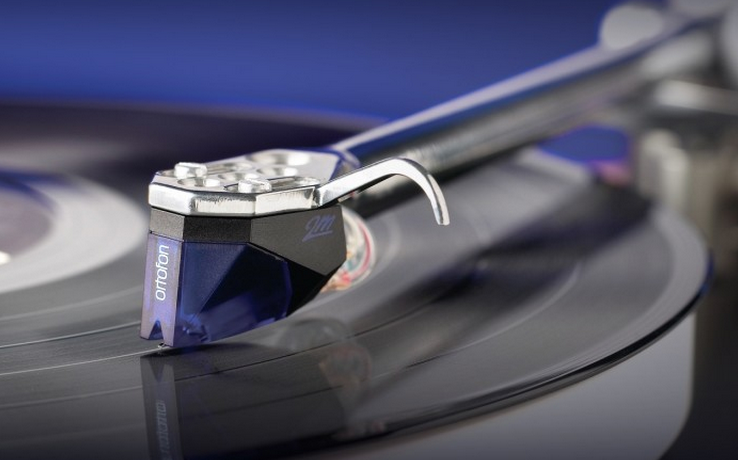
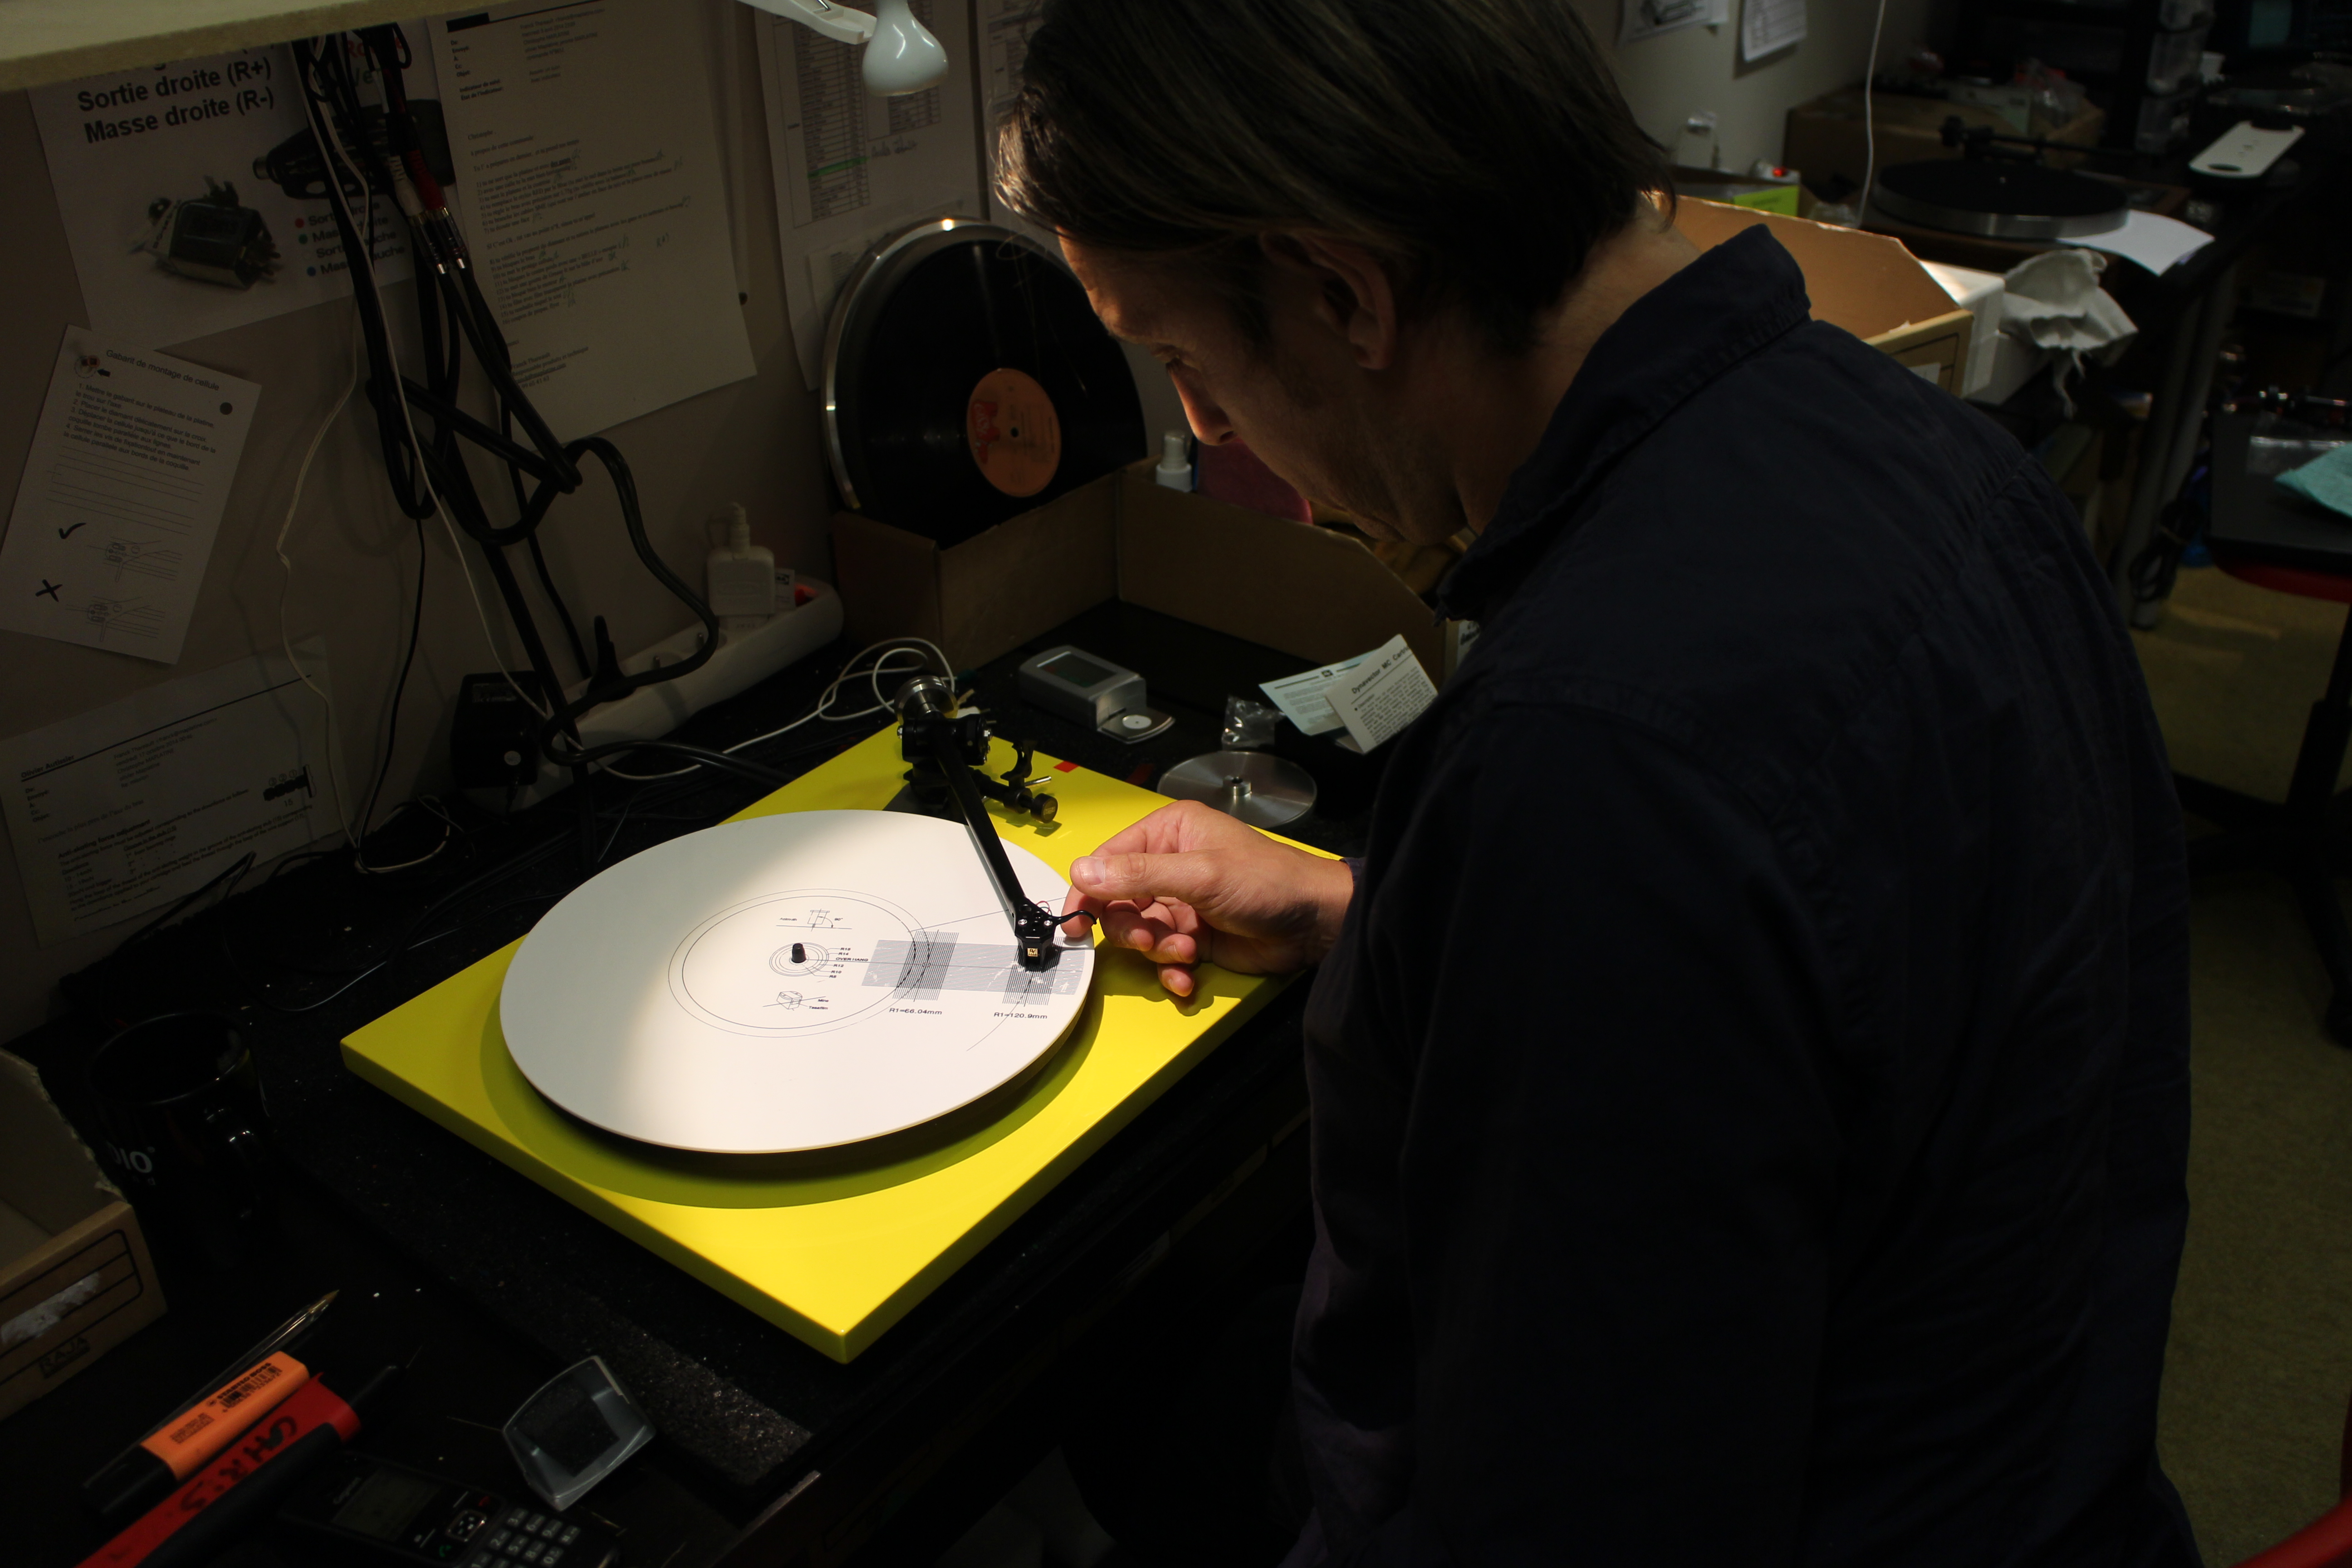
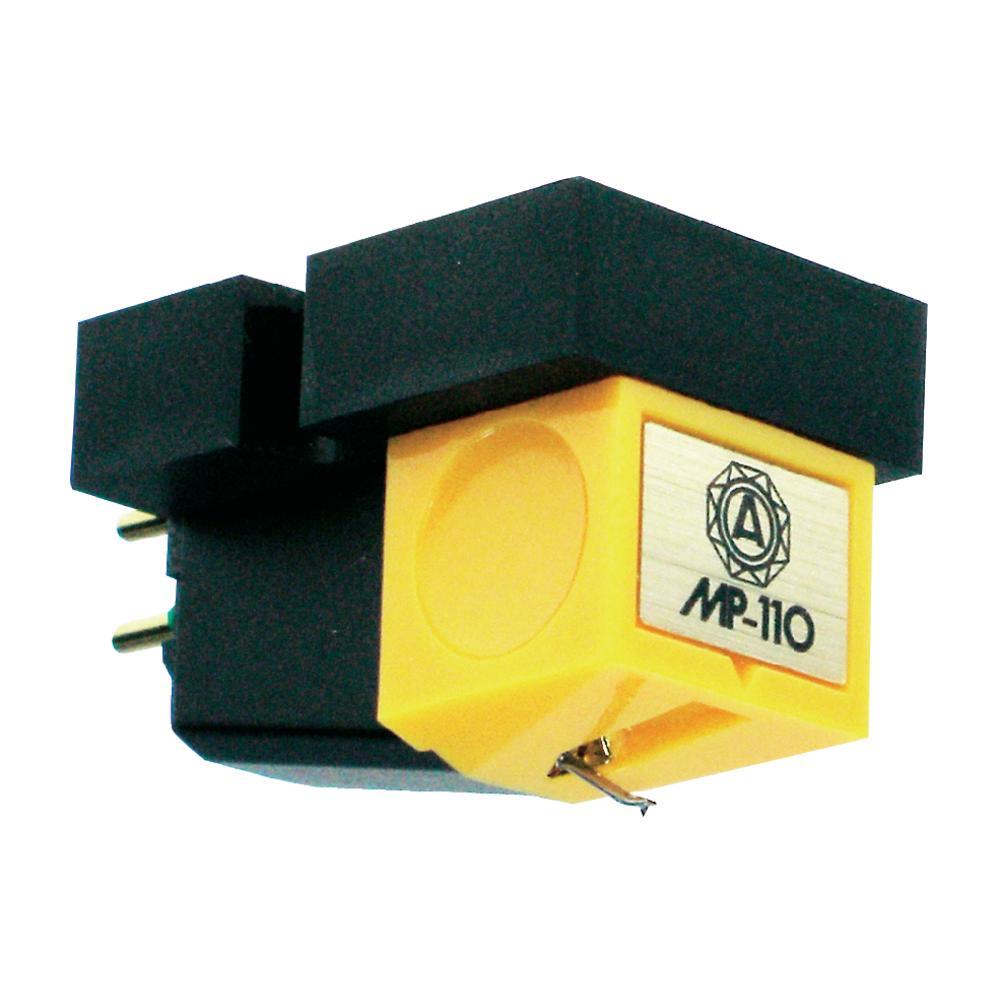
STEP 1: How do you fit and set up the cartridge of a turntable?
Step 1.1 - Connection of a cartridge on a turntable:
Once you have placed your phono cartridge on the headshell of your turntable, ensure that you have correctly connected it by using the following colour codes:
- Red = '+ Right'
- Green = '- Right'
- White = '+ Left'
- Blue = '- Left'
Step 1.2 - Set the azimuth of your cartridge on a turntable:
To set your phono cartridge, it is first necessary to set the azimuth. This corresponds to the angle between the plane of the turntable and the vertical axis of the phono cartridge. The stylus must be perpendicular to the record, so as to prevent any imbalance between the right and left channels of the groove. A badly set azimuth can be corrected by using a small screw located on the tonearm hinge. It must be noted that it can be hidden by the external ring of the hinge or directly in the headshell, this can vary according to the turntable model.

Step 1.3 - Set the alignment of your cartridge on a turntable:
By using an alignment template, you can ensure that the cartridge is perfectly aligned on the groove's tangent. So position this template on the platter of the turntable. You must then place the hi-fi cartridge on the mark and check if it is aligned horizontally, then vertically. This set up corresponds to the overhang of a cartridge.
Once the cartridge is correctly aligned, you must ensure that the recommended tracking force is correctly applied. In the following paragraph, we explain to you how to set up the tracking force.
Below is an explanatory video of the assembly and set up of a cartridge for turnable.
STEP 2 : How do you set up the tracking force of the turntable tonearm?
Step 2.1 - Perfectly set up the tonearm of your turntable:
Regarding the set up of the turntable tonearm, you must begin by finding the balance. Place the counterweight on the end of the tonearm to do this, then remove the tonearm from the armrest. You must turn the counterweight until you get the perfect balance. At this point, the tonearm must float by itself.
After this step, you must set the graduated ring of the counterweight to the zero position, which must be opposite the white line. When you carry out this action, care must be taken not to move the counterweight (at the risk of unbalancing the tonearm and having to start the operation from the beginning).
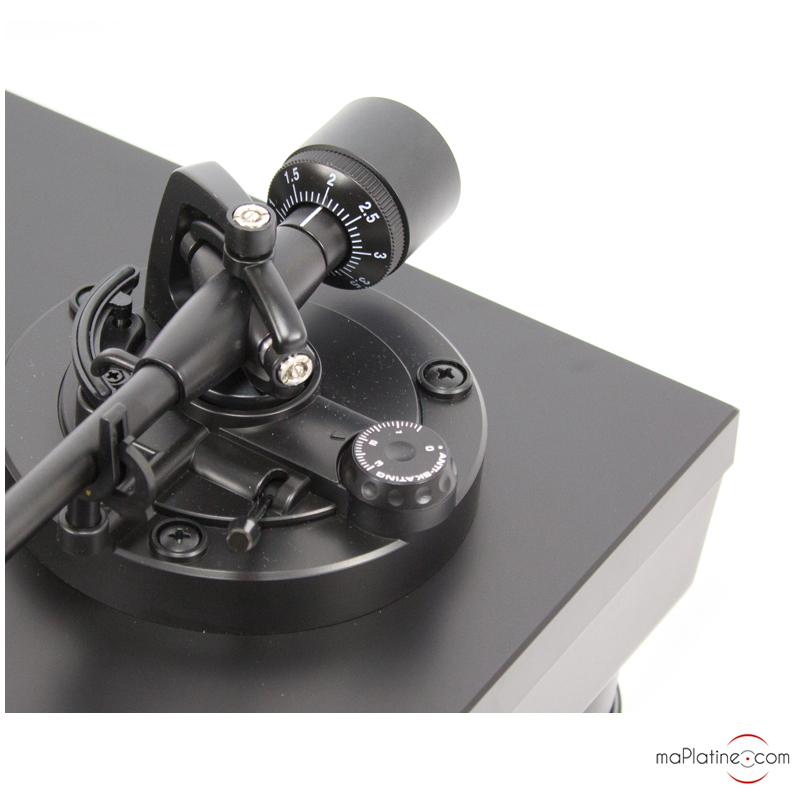
To finish with this adjustment, turn the entire counterweight so as to position the white line opposite the recommended tracking force for your cartridge. This tracking force corresponds to the force that the Hi-Fi cartridge receives in a vertical plane perpendicular to the record. Each manufacturer specifies a tracking force for its cartridge. For example, a tracking force of 1.8 g corresponds to 18 on the graduated ring.
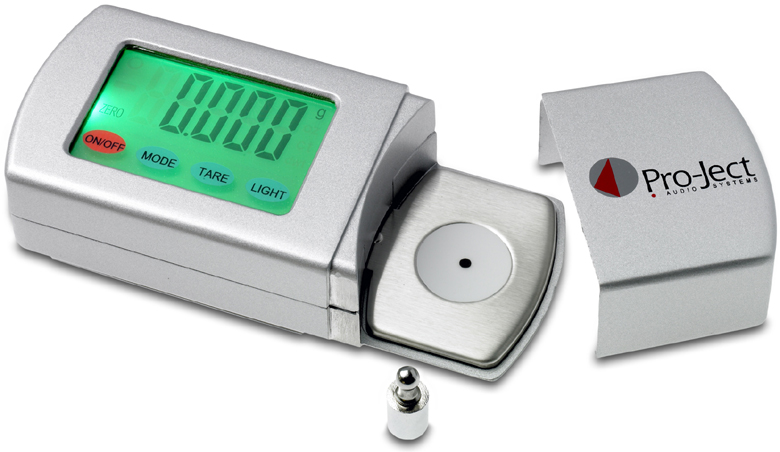
However, know that some turntables are without graduated counterweight, such as the Rega P1 record player and the VPI record players. For these models, it will be essential to use electronic scales (e.g. Pro-Ject Measure It 2, Analogis…) to accurately control the tracking force recommended by the manufacturer of your Hi-Fi cartridge. Hence, the tracking force can be correctly applied.
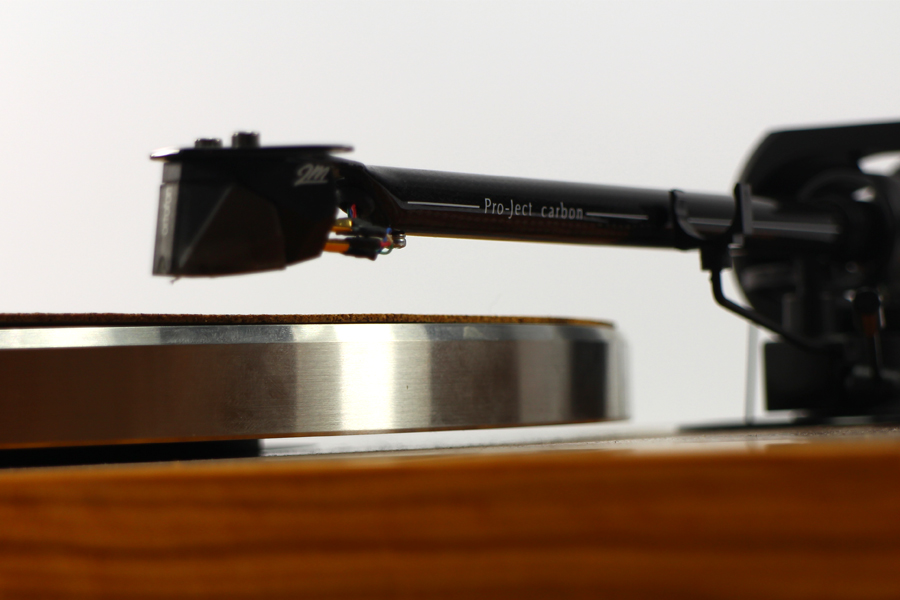
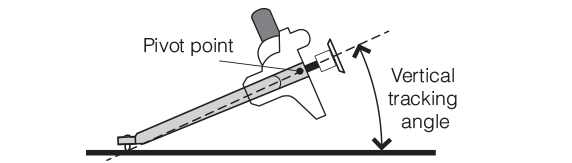
Step 2.2 - Adjust the height of your turntable tonearm (VTA):
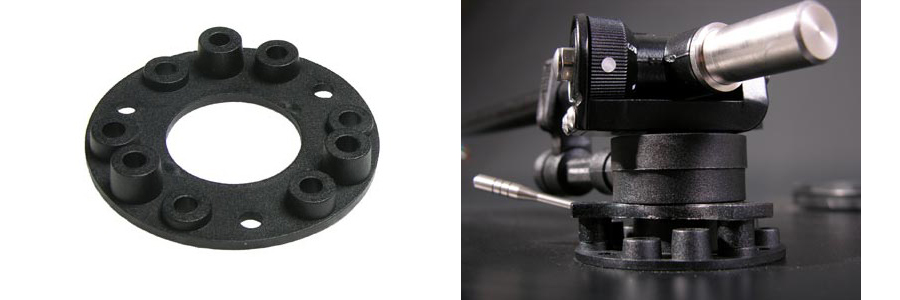
For some turntables (e.g. Pro-Ject 1-Xpression Carbon Classic), you must also adjust the height of the tonearm (VTA). It can be adjusted by using a screw at the base of the tonearm. You must check that the tonearm is parallel to the turntable, then that the cartridge is parallel to the record. This is known as the VTA (Vertical Tracking Angle).
For other turntables models, such as those of the REGA brand for example, you will not be able to adjust the height of your tonearm. Therefore, if you want to assemble 'high' cartridges (Ortofon, Grado, etc.), you will have to insert a spacer between the three attachment points of the tonearm and turntable.
Step 2.3 - Adjust the antiskating on your turntable:
To compensate for the centripetal force exerted on the phono cartridge, there is an antiskating setting that is used to correct this.
On some turntables, it is applied with a graduated thumbwheel, a spring, which is the case of the REGA RP3 turntable for example. On others, it comes in the form of counterweights (e.g. Pro-Ject 2-Xperience turntable) or else, in magnetic form (e.g. Clearaudio Whitemotion turntable).
In all cases, it must be fitted at the spot recommended by the manufacturer. When you received your turntable prepared by us in our workshop, you had a coupon and a diagram explaining the exact spot to set the antiskating, if this is necessary.

Once all this is done, you only have to play the music! To obtain more explanations and demonstrations on how to set up a turntable, go to our Youtube channel, where you will find a large number of videos on this subject.
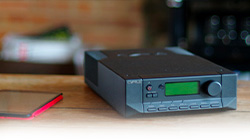
3. The set up of your phono preamp according to your cartridge
Correctly setting your turntable is good… but matching its phono preamp according to the Hi-Fi cartridge fitted to your turntable, is even better! The role of the phono preamp is to process the sound signals from a cartridge, which are very low. This is why matching your phono preamp to your cartridge is essential to obtain the best sound quality possible. Below, we explain a few set ups to perform on your phono stage according to your cartridge model.
Step 3.1 - Set the capacitive charge of the phono preamp
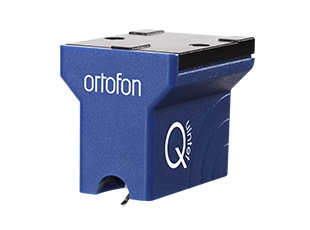
If you have an MM cartridge (moving magnet), you are going to have to set what is called the capacitive charge. This charge is expressed in picoFarads (pF). These phono cartridges are the most commonplace and are matched to most preamps on the market.
Step 3.2 - Set the resistive load of the phono preamp
Nevertheless, if you have an MC cartridge (moving coil), you are going to be interested in setting the resistive load. This charge is expressed in Ohms. This type of cartridge requires having a suitable phono preamp or an MC transformer (e.g. Ortofon Verto MC transformer) as it uses a particular technology. As for the high output MC cartridges, they are suitable for all standard phono preamps.
Step 3.3 - Set the gain of the phono preamp
To conclude, ensure that the gain of your phono preamp is set. This adjustment corresponds to the capacity of your audiophile system to increase the signal amplitude. Generally, you can find the gain by calculating the ratio of the input signal to the output signal. Gain is expressed in decibels and is generally set between 40 and 60 dB.
*******
We hope that these explanations have helped you set your turntable and enable you to obtain optimum listening quality. If, however, you encounter any problems, feel free to contact us by e-mail (contact@maplatine.com).